
I was inspired by the post I put up on my Facebook page about
using press’n seal to make a bra pattern, and I thought I would apply it
to copying a pair of trousers I love as it seems not dissimilar to the 3D
pattern making I use for custom corsets. Trouser patterns are a battleground
for most people, getting the crotch just right, eliminating drag lines around
the bum, it can be epic making and fitting the perfect pants. And taking a
pattern from an existing pair you like is also fraught: getting the crotch
curve right as it moves around the body without stretching the fabric can be
tricky.
So I took my favorite wide leg pants to try
this out. I have a tricky figure, with a small waist and big hips, and the
waist to hip ratio just doesn’t work with a normal block, and fitting yourself
for pants is almost impossible. These pants weren’t without problems, I had
taken in the waist quite a lot at the back, but they still gaped at the front,
so I was hopeful that this technique would accommodate my alterations in the
process, while also allowing me to move the side seam which had now swung
towards the back with the new darts.

So many darts!
Press’n seal is not readily available in
Perth, I bought mine on the internet and had it shipped from the US, so I am
quite precious about using it, but this seemed like a good a time as any! Some of my students told me about a place you can
buy it here for $10, which is not bad given what you can do with it (I can’t
remember the name of the shop).
I laid out my pants flat, and pressed the
plastic on each section, drawing the seam lines and cutting out the shapes. It
didn’t take long, and dealing with the back crotch was really easy. My main
concern was that I have worn these a lot, and the fabric may have distorted a
bit, but this method allowed me to keep everything flat and lined up.

I then transferred the pattern pieces onto
paper to clean up and true the pattern. This was really easy too, so I started doubting
it would work! While doing the back, I had incorporated the darts into the
shape, and I know I need darts, so I drew the lines onto the plastic, slashed
them open and stuck them down again. For the front, I ‘darted’ the center front
to get rid of the gaping, and re-drew the side seam so it was more balanced.

Plastic on paper; note CF change, opening of back darts and SS changes
Once I was happy, I transferred the pattern
onto Vilene (which I like for pattern making) with seam allowances, and cut out
the pants! All this took under 2 hours, and I had company so wasn’t exactly
rushing. The material is lovely, but I was concerned about it creating a
misleading result, as it has a small amount of stretch. But then, if that is
the type of material I tend to use, it shouldn't be a problem. I will need to try it out in a
few different fabrics, like non-stretch, to judge how the pattern behaves, but that will be another day! I didn’t test in calico, which would have been sensible,
but I had high hopes for this method, so decided to just jump right in and use
something special.
And the result? Perfect! I can’t believe it
was so easy! My caveated for failure was to keep the construction super simple:
no pockets, center back zip, no detail at all. The sewing was super fast, I had them made in under an hour. And here is the result:

The original pants
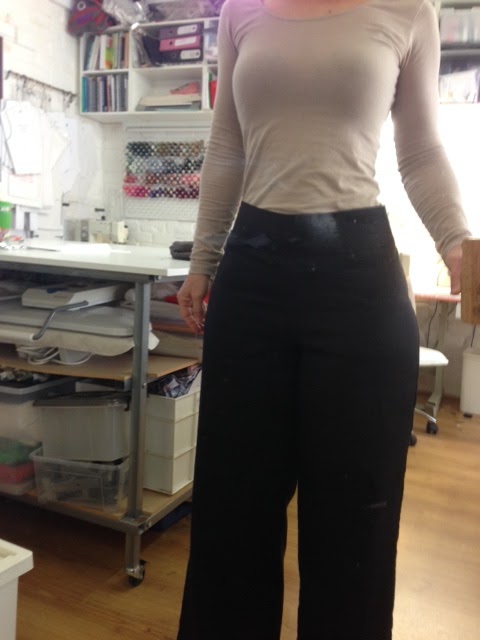
The copy pants

Front detail

The back: I was able to use a longer zip so make it easier to put them on :)
I am so happy! I will now make pattern
pieces for pockets and a fly front. I will try this method on my favourite jeans next.